Assets
Updated: 4/9/2024
Assets are reusable content in Omni CMS that provide a single source of content for use on multiple pages. When the asset is edited and published, the content automatically updates on each page the asset was placed on. The different types of assets also allow for some more complicated types of content than you can create in the page editor. You cannot edit an asset on a page, but must open the original asset to make and save any changes.
Image Gallery
Creating an image gallery asset is a three-step process. First, create the asset, where you fill out basic information. Then, upload the images into the asset, sort, and caption them before saving and publishing.
Create New Image Gallery Asset

-
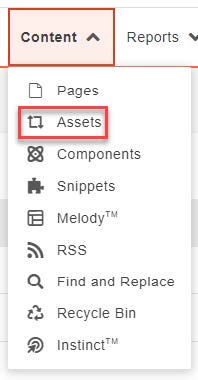
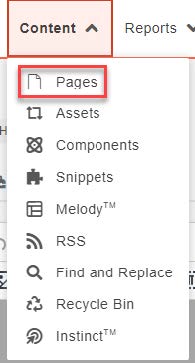
Click Content -> Assets
-
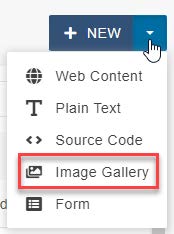
Click the Dropdown NEW -> Image Gallery
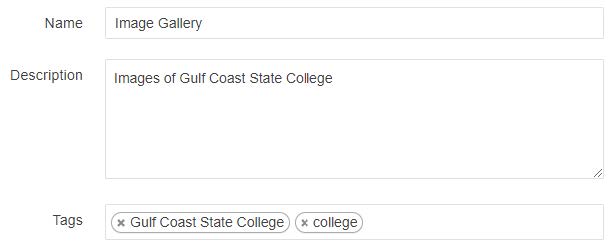
- Enter:
- Name
- Description (optional)
-
Tags (optional)
- Access Group (Select the group that can edit this asset, optional)
- Gallery Options:
-
Maximum Thumbnail Size: Type the maximum width and height of the thumbnails. The max value for each is 500 pixels.

-
Thumbnail Preview: Drag the dotted-line of the preview box to adjust, if desired.

-
- Click Create
-
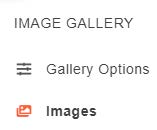
Click Edit to upload images

-
Click Images on the left side of the page
-
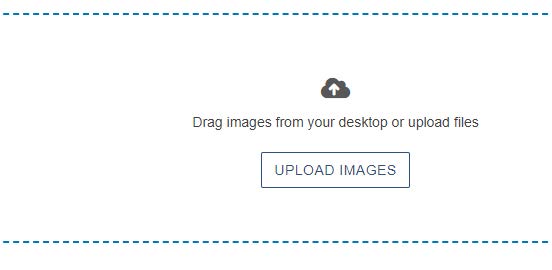
Drag images from your desktop or upload files
-
Enter:
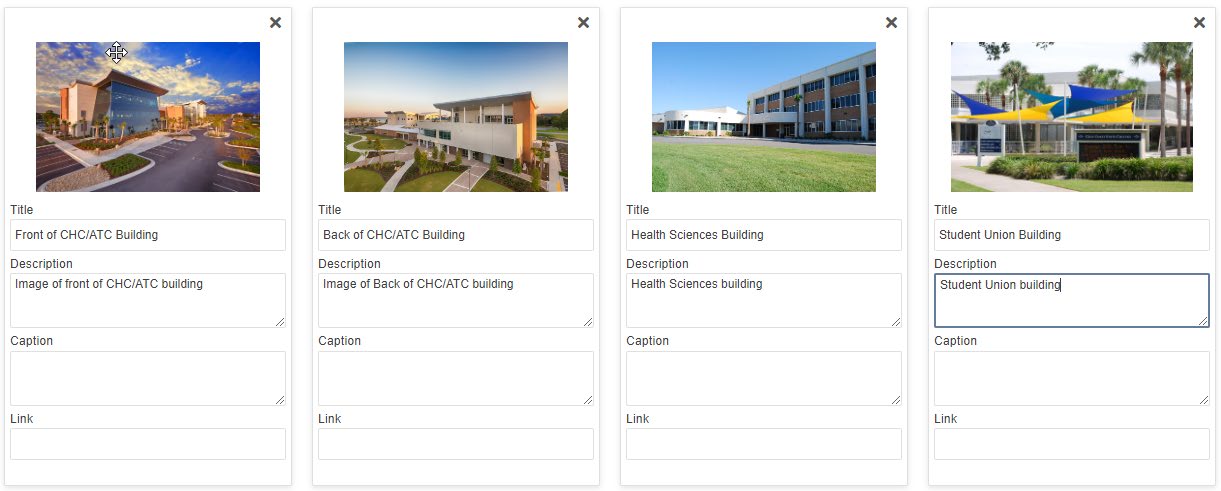
- Title
- Description
- Caption (optional)
- Link (optional)
- Save Image Gallery
- Submit Image Gallery
Your asset is now available for use on pages, but must be published before it appears on any live web pages.
Add Image Gallery to Webpage
-
Click Content -> Pages and find the page to add the Image Gallery or go to the page to add the Image Gallery and login
-
Click Edit
-
Click one of the green edit buttons

-
Click the Component icon

-
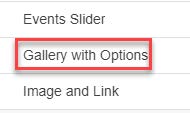
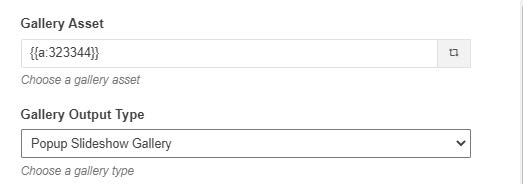
Click Gallery with Options
- Enter the Image Gallery you created
- Select the Gallery Output Type
-
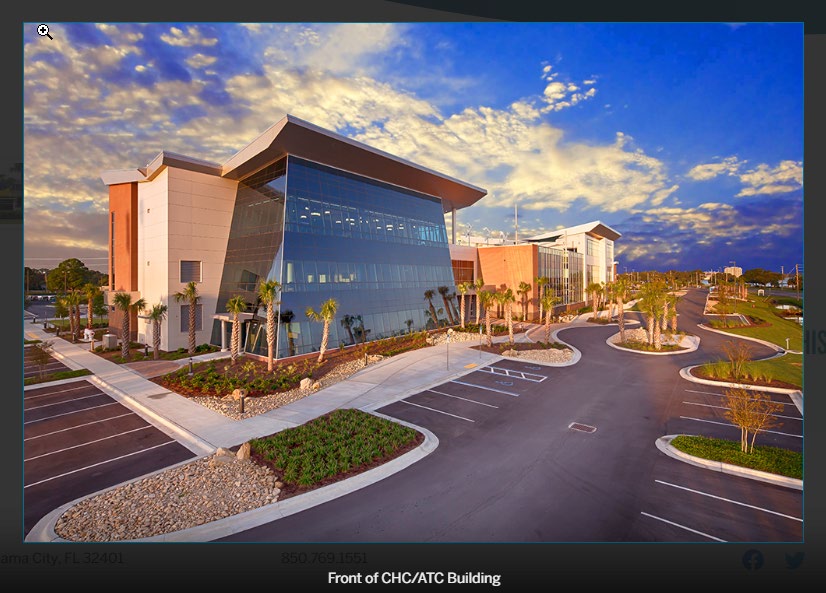
Popup Slideshow Gallery
- Select Popup Options
- Loop Popup Slideshow
- Slideshow Arrows
- Slideshow Buttons
- Save Popup
-
Preview Popup

- Select Popup Options
-
Carousel Gallery

- Select Carousel Options
- Autoplay
- Autoplay Speed
- Carousel Arrows
- Loop Carousel
- Initial Slide
- Slides to Show
- Slides to Scroll
- Save Carousel Gallery
-
Preview Carousel Gallery

- Select Carousel Options
-