technicalsupport@gulfcoast.edu
850.913.3303
Approving Event Requests
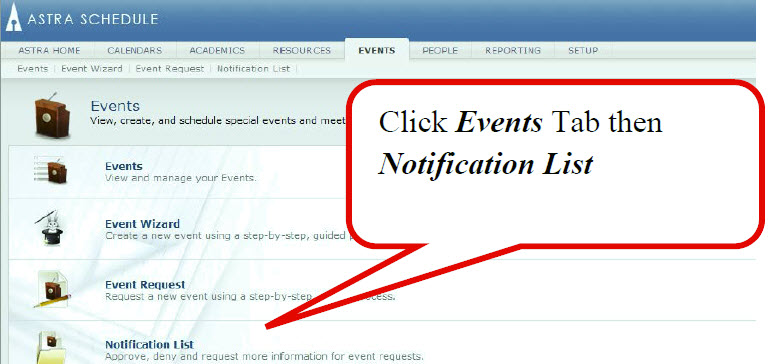
To approve Event Requests that are sent to you. Click on the Events Tab then Notification List.
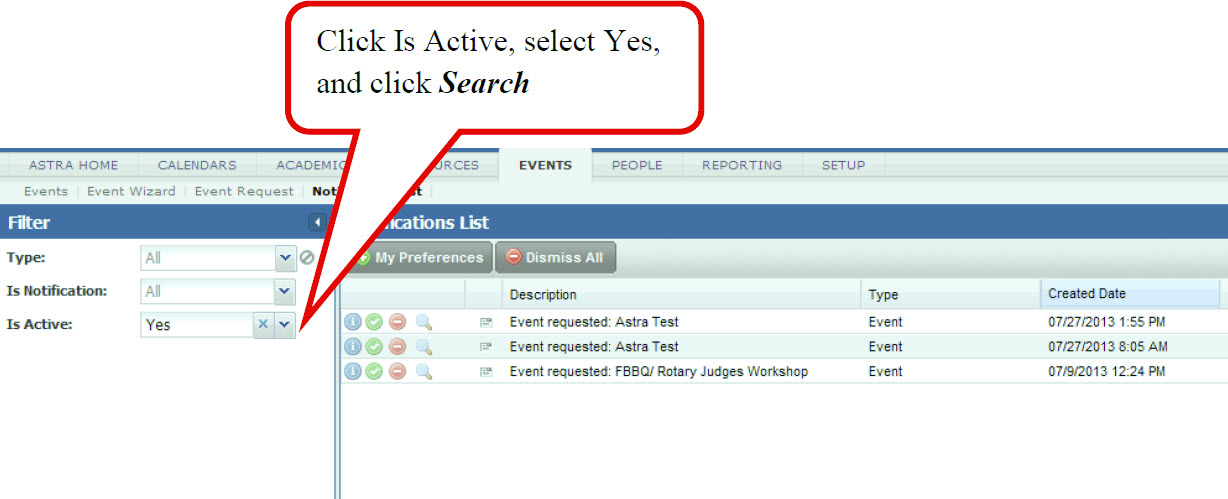
To narrow down the list of requests you can click on Is Active, select Yes, and click Search at the bottom of the Filter Box.
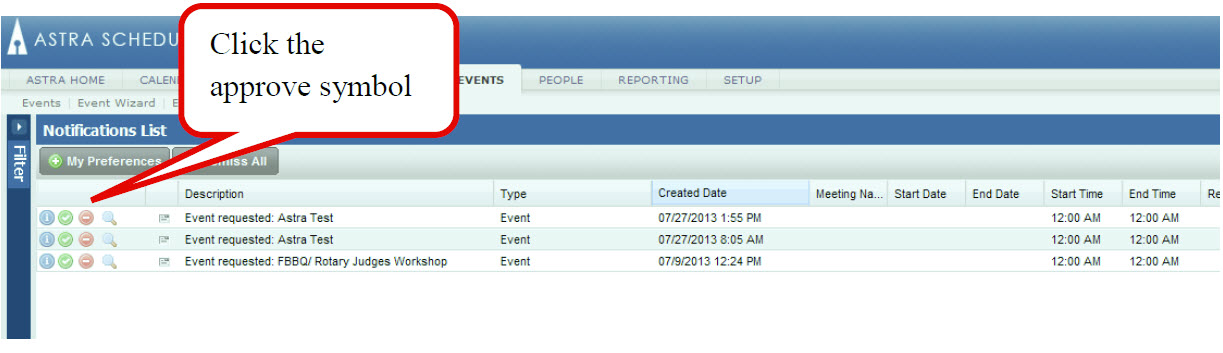
Approve -Green Arrow -Opens up the event for approval. You still have to save and approve again for it to go through.
Decline -Red Circle – Declines the event. Sends an email advising the requester that the event has been declined. When you click on decline you have an option to type in a reason that is sent to the requester. It is then removed from your list. You cannot reactive this request after you decline. The requester would have to put in a new request.
More Information – Blue Circle with I – You can use to send a message to the requester asking for more information.
To See Meeting Details of the Request, hover your mouse over the details icon beside the Description column
![]()
To approve the event, click on the Approve Symbol. When the message option pops up, click Approve.
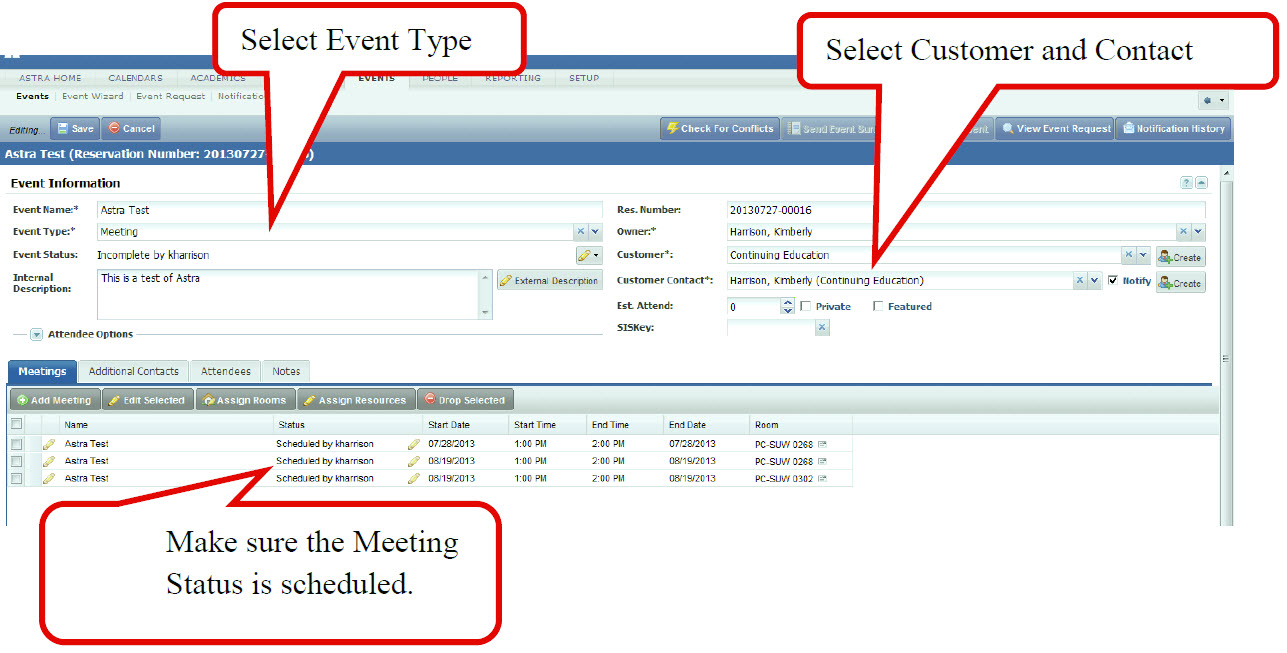
If the event is not in the editing mode, click on Edit in the upper left-hand corner. Make sure the meeting status for all meetings is Scheduled. Select an Event Type, Customer, and Contact. The Contact list depends on the Customer (Division or Department) chosen.
Click on View Event Request at the top of the page to see the event request form for additional information if needed.
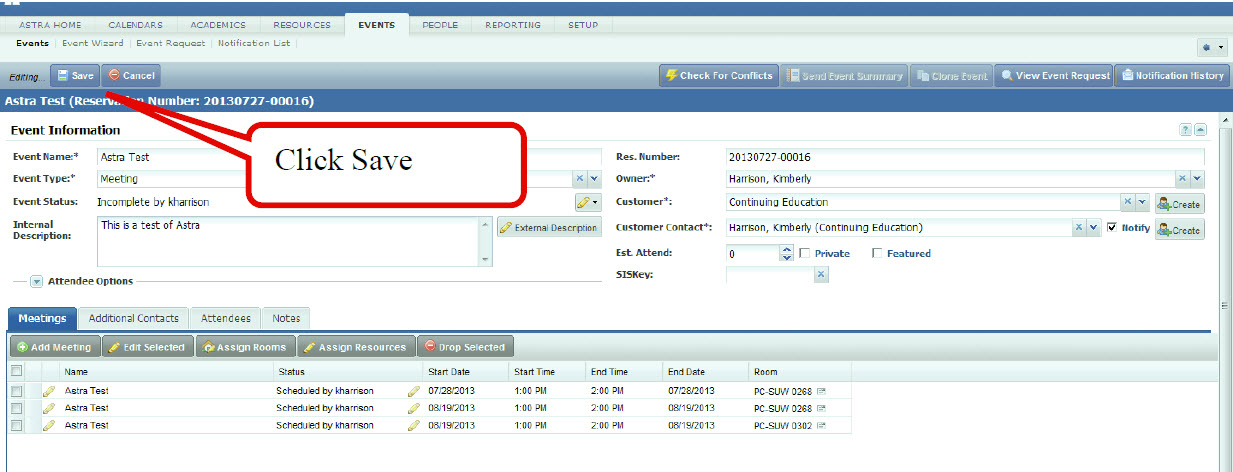
Then click Save. When you click on Save Ad Astra will check for conflicts while it saves. You also can check for conflicts prior to saving by clicking on Check for Conflicts.
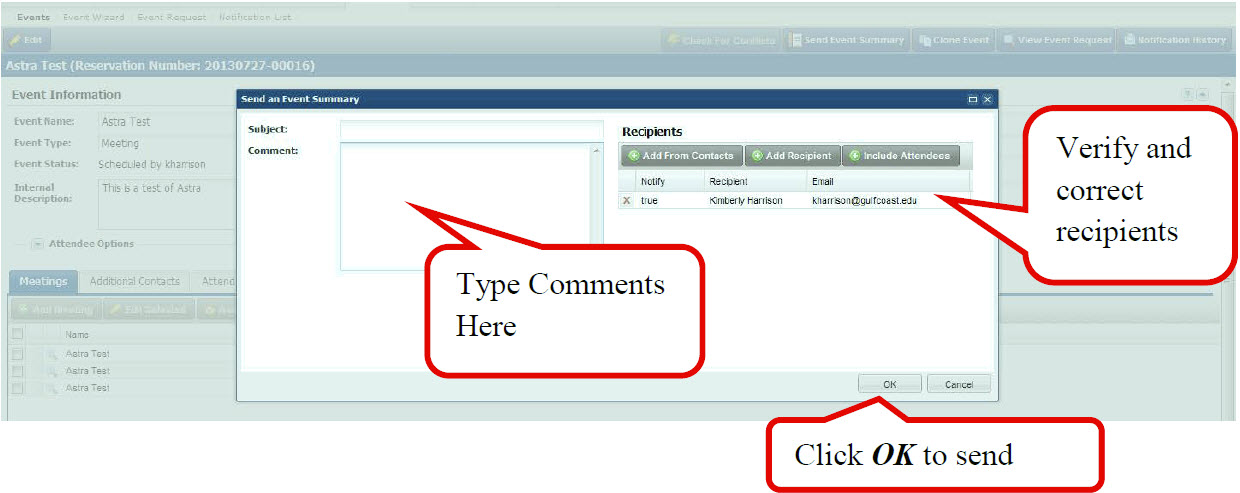
Send Event Summary– Sends an email to the contact advising the status of the event with event name, meeting times, and assigned locations.
Click Send Event Summary at the top of the page.
Under Recipients the contact email should be listed. Additional Emails can be added by clicking on Add Recipient. Type any Comments under the Comment Section. Then click OK in the lower right-hand corner to send.
You are then taken back to the Event Information Screen where you can click any tab to exit.
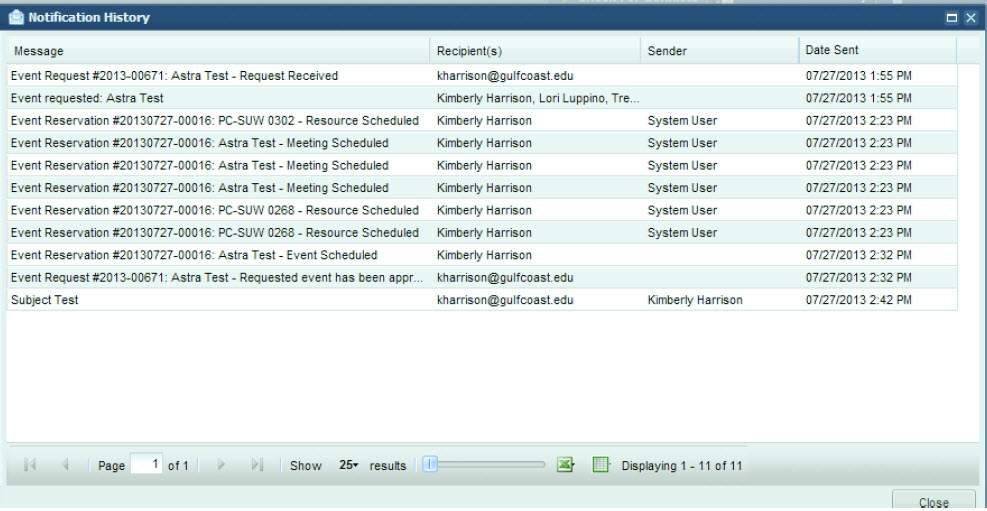
Notification History-To check the notification history for the event, click on Notification History in the upper right-hand corner of the Event Information Page.