technicalsupport@gulfcoast.edu
850.913.3303
QOMO Journey Touch Panel
Updated: 2/18/2025
The QOMO Journey is a touch screen smart panel that you can control with a stylus or with your fingers.
Displaying and controlling the Computer image:
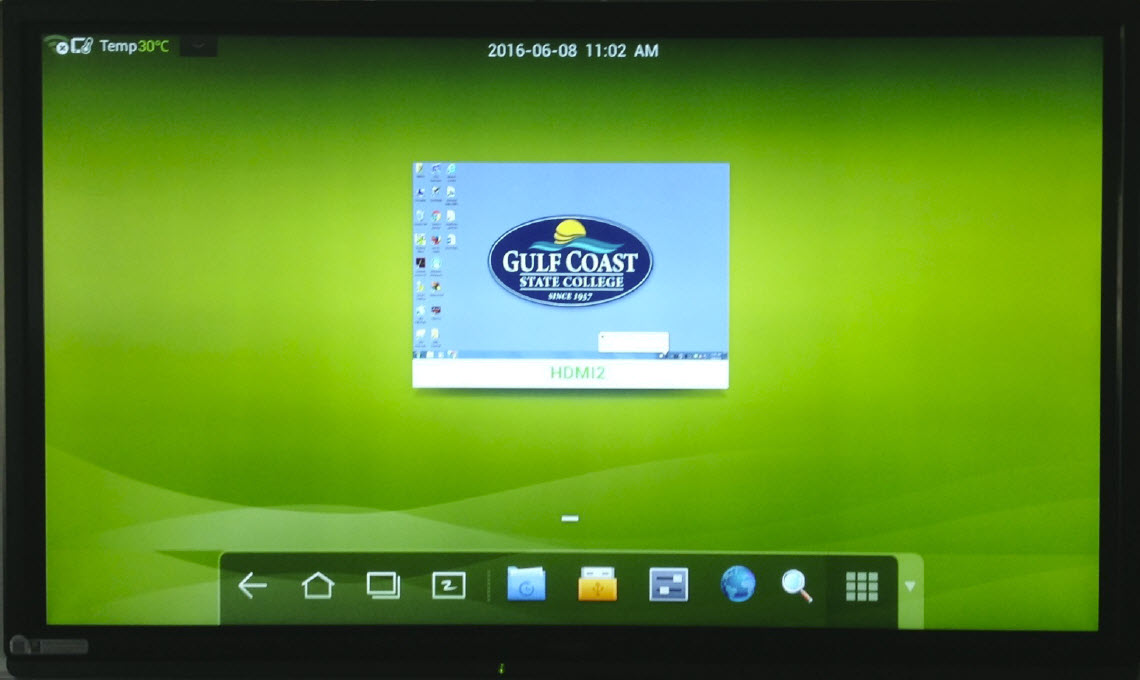
When you first turn on the panel it will default to the Home screen.
You will see a small window of the computer image labeled ‘HDMI2’ in the middle of the screen. If you select the window it will bring up your computer.
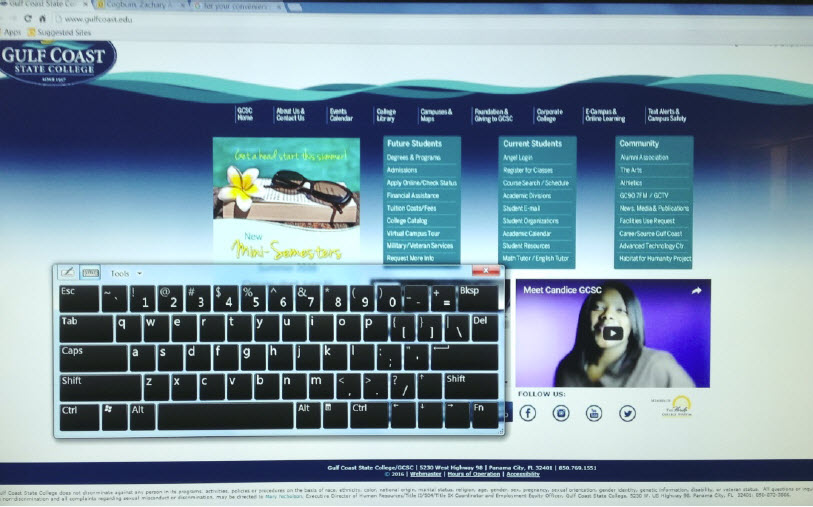
There is a keyboard on the left hand side of the panel, you can use it when typing on screen text or searching a web address.
For web pages or documents, you can swipe up and down to scroll, swipe left to right to go back and swipe right to left to forward.
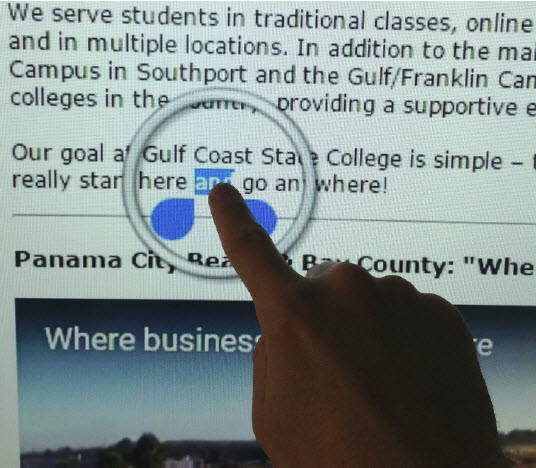
If you want to copy something on screen, press your finger over the text you want to select. A gray circle will appear and you can adjust the blue tabs to choose how much of the text you want to select.
Annotation on the Computer screen:
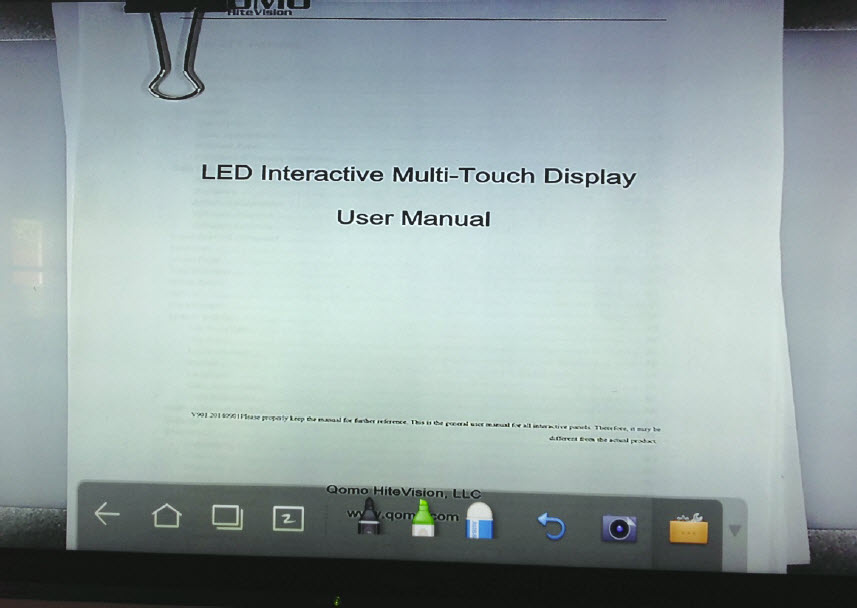
To annotate on the computer screen, press your finger at the very bottom of the screen on the black outline and swipe up. A menu at the bottom will open up with different tools you can use:
- Back Arrow – Will take you back to the last program you were using.
- Home – Will take you back to the Home screen.
- Multi Box – Will show you all of the current programs you have running.
- Board – Will open the Whiteboard.
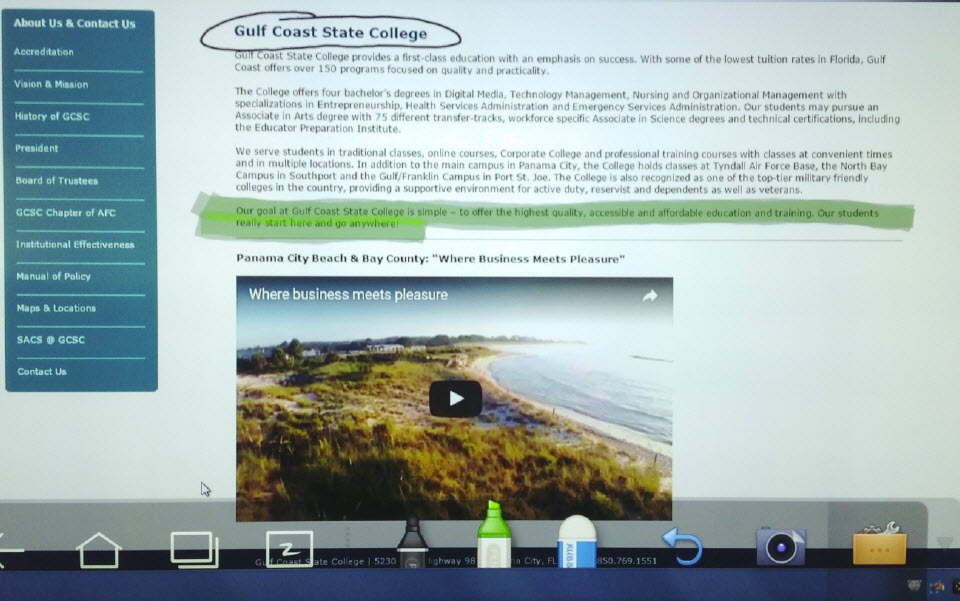
- Marker – Once selected can be used to annotate over any image displayed on the screen. Press down on the marker to change the size and the color. Tap the marker again to put it away.
- Highlighter – Once selected can be used to highlight anything on screen. Press down on the highlighter to change the size and the color. Tap the highlighter again to put it away.
- Eraser -Once selected can be used to erase any writing on the screen. Place one finger on the screen for a small eraser; place all five fingers on the screen to create a bigger eraser. Tap the eraser again to put it away.
- Undo Arrow – Will undo any mistake.
- Camera – Will take a snapshot of whatever it currently being displayed on the screen. These pictures are stored in the panel and can be accessed at any time.
- Toolbox – Once selected will give you an option to print (if a printer is set up in the room) or to clear anything currently on the screen.
*Next to the Toolbox there is a small gray arrow that will close this menu.
This menu can also be accessed while using the Document Camera.
The Home screen and its many functions:
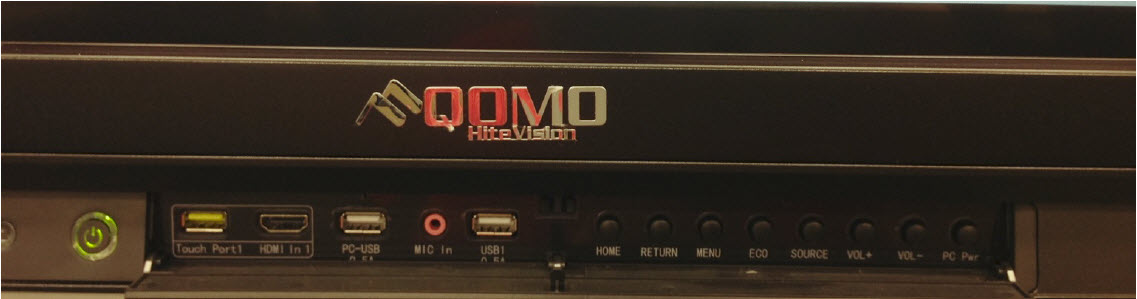
Right under the silver QOMO logo is a compartment that can be opened by pushing it. Here you can plug in a USB type device and go back to the Home screen at any time by pressing the Home button.
At the Home screen you have access to many tools. Besides accessing the tools we already discussed (Home, Whiteboard, etc.) here are a few other things you can do in the Home screen bottom toolbar:
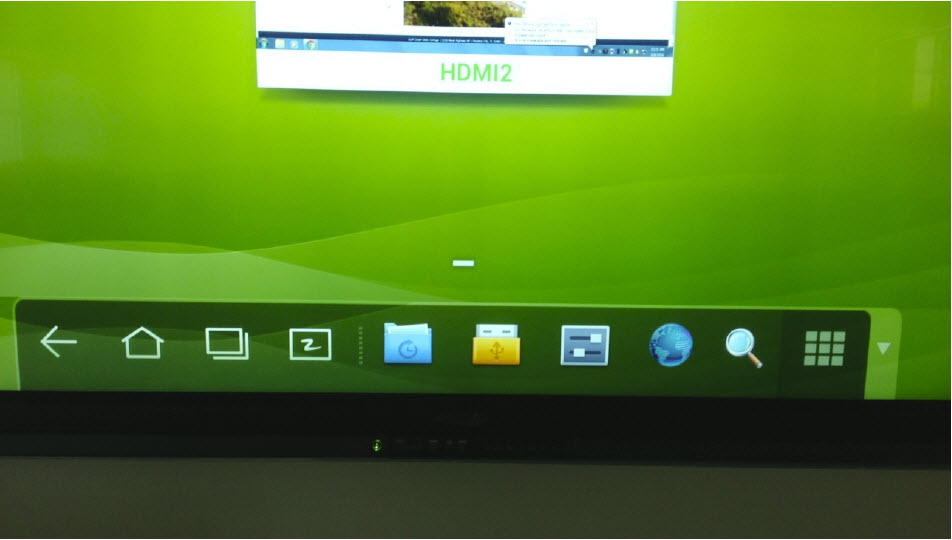
- Blue folder -Once selected, previous documents that have been accessed will display.
- Yellow port -Once selected will bring up program files. You should not need to access these files.
- Gray box -Once selected will bring up the settings. You should not need to access these files.
- Globe -Internet access, this is not set up because the Internet can be accessed on the desktop computer.
- Magnifying glass -Once selected will bring up a search engine for locating anything saved in the panel.
- Grid -Once selected will open other tools saved in the panel including a calculator, clock, gallery (where you will find saved screen shots), Office Suite 7 (built in Office programs) and more.
Once you plug in a USB in the front of the panel, a separate window will appear onscreen. Once selected you can open up your saved files to display or annotate over. Annotation will not change the original document.

Moving saved Screen Shots from Gallery to a USB devise:
- Have a USB plugged into the panel.
- Go to the Gallery.
- Select the image you wish to move.
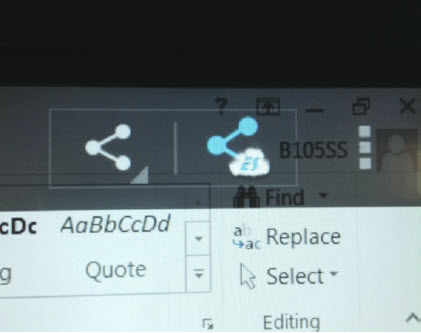
- Next, select the icon in the top right corner; you want to choose the one that says
ES.
- Under ‘Choose a path’ select the drop down menu.
- Choose /mnt/usb/sda1
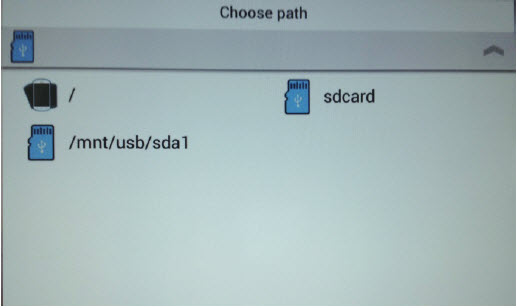
- Choose a location in your USB device to save the image to.
- Press ‘Select’ at the bottom.
To eject a USB, turn the panel off first then it will be safe to remove the USB device.
FYI:
If the panel in your classroom needs to be cleaned please do not spray anything on it, use only a micro fiber cloth. You can also contact Media Services to come over and clean it.
These Instructions will be posted on the classroom desktop computer as well as www.gulfcoast.edu to be accessed anytime for your convenience.
If you run into any issues during your class, please contact Help Support at ext. 3303 and describe your issue to the operator. They will send someone over right away to assist you.
If you have any further questions please feel free to contact Media services.