Editing the Website with Omni CMS
Updated: 4/9/2024
Edit Properties
- Login to the page to be edited
-
Check the page out by clicking the light bulb (located to the left of Submit button)

- Click Properties and add the following information
- Title
- Description
- Keywords
- Tags
- Page Heading
-
Breadcrumb

Preview

- Page Layout
-
Full Width
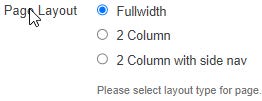
Preview

-
2 Column
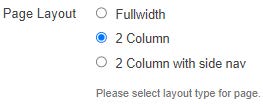
Preview

-
2 Column with Side nav

Preview

-
-
Add a Banner Image

Preview

-
Enter a detailed Alternative description (VERY IMPORTANT: Alt text is required. It must be a detailed description of the image. This is required for ADA compliance)

- Save Properties
Edit the Webpage
-
Click Edit at the top of the page

-
Click the green buttons to edit (the button may look different but they all have a pencil icon similar to the ones below)


-
The tool bar is available while in Edit mode. The tools are similar to Microsoft Office products


Save 
Exit without saving 
Cut (use shortcut Ctrl + x) 
Copy (use Ctrl + c) 
Paste (use Ctrl + v) 
Paste text 
Find and replace 
Undo 
Redo 
Spell check 
Remove format 
Bold 
Italic 
Underline 
Strikethrough 
Bullet list 
Numbered list 
Decrease indent 
Increase indent 
Block quote 
Superscript 
Subscript 
Align left 
Align center 
Align Right 
Justify 
Link 
Unlink 
Email link 
Anchor 
Image 
Video 
Horizontal rule 
Line break 
Special character 
Show blocks 
Table 
Maximize/Minimize content -
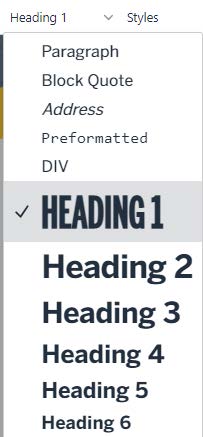
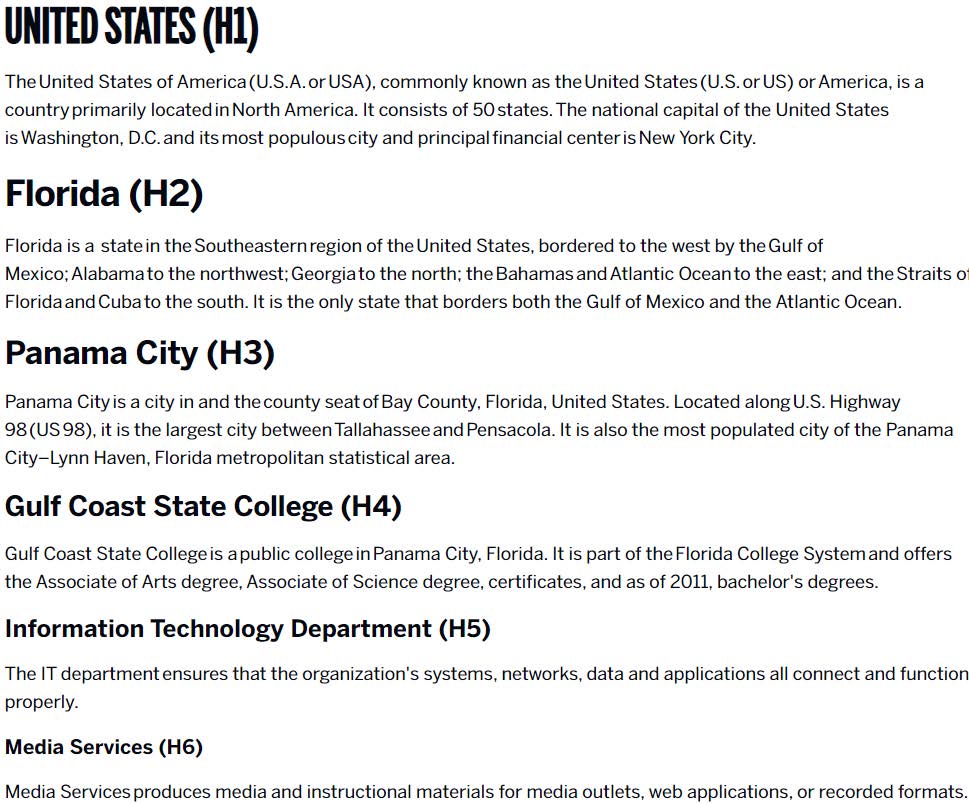
Add headers to webpages when appropriate (NEVER use headings to emphasize text)
-
The Page Heading is the webpage’s H1 (There is only one H1 on a webpage)

Preview

-
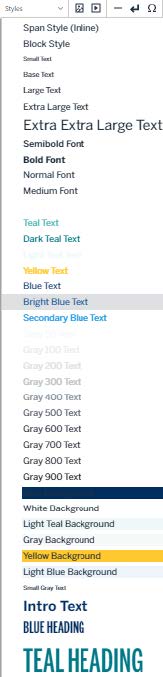
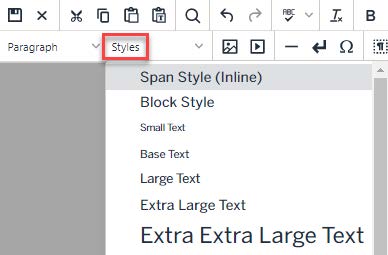
Use Styles to format H2 and H3 (NEVER use headings to emphasize text)
-
Use TEAL HEADING style for H2

-
Use BLUE HEADING style for H3

-
-
Use Styles to emphasize text