Adding Documents and Images
Updated: 4/9/2024
Upload and Link Documents
- Login to the page to be edited
-
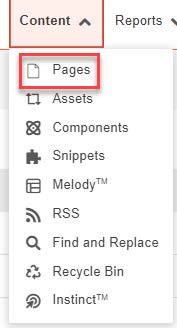
Click Content -> Pages
Upload Documents in Document Folder
-
Upload documents to the document folder

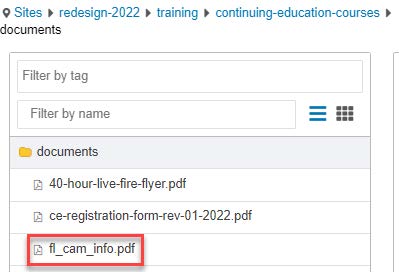
- Click documents folder
-
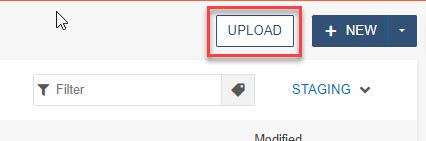
Upload documents by clicking the UPLOAD button
-
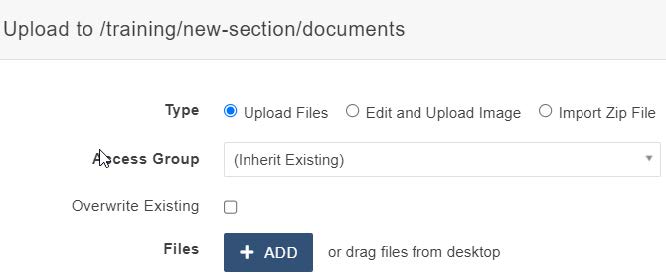
drag files from desktop or click the ADD button to upload documents


- Filename is invalid if it contains capital letters or spaces
-
(do not delete e.g., .pdf, .docx, etc.)Rename the document by clicking the More Actions icon 
and type in new name -
Check Overwrite Existing if replacing a document with the same name

- Click START UPLOAD
Link document
-
Check the page out by clicking on the light bulb (located to the left of Submit button)

-
Click the Edit Button

- Click the green buttons to edit (the button may look different but they all have a pencil icon similar to
the ones below)


-
Highlight the text to be linked

-
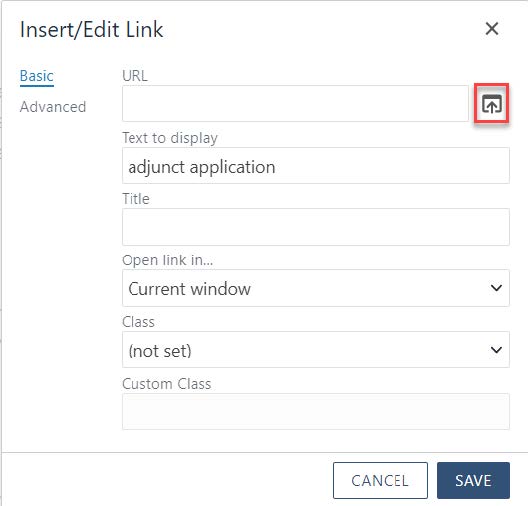
Click the link icon

-
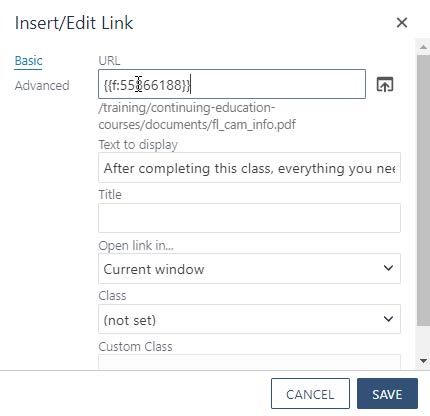
Click the URL button
-
Find the document uploaded previously
-
Click INSERT
-
SAVE Link
Preview link

Upload Documents While on Webpage
-
Highlight text to be linked

-
Click the link icon
-
Click the URL button
-
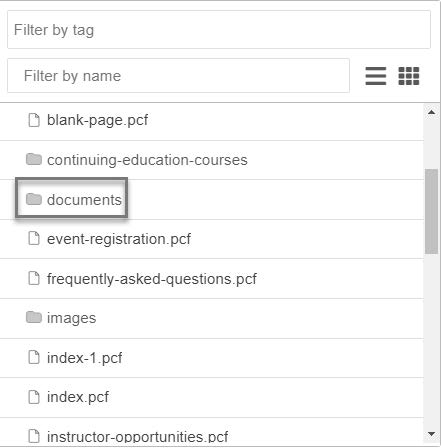
Click documents Folder
-
UPLOAD document

-
drag files from desktop or click the ADD button to upload documents
- Filename is invalid if it contains capital letters or spaces
-
Rename the document by clicking the More Actions icon and type in new name (do not delete e.g., .pdf, .docx, etc.)


-
Check Overwrite Existing if replacing a document with the same name
-
Click START UPLOAD
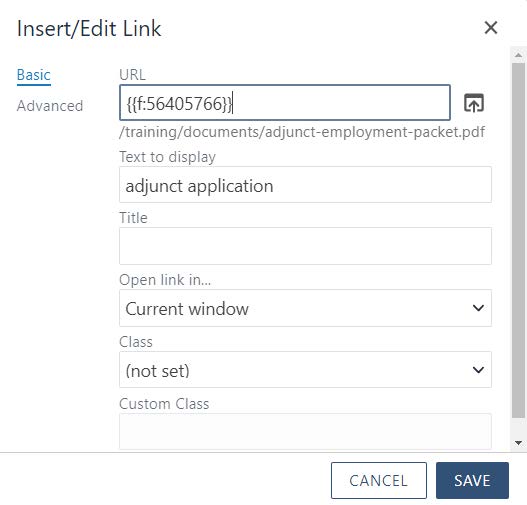
- INSERT link
-
SAVE link
-
Preview Link

Upload Links and Images
Upload an Image to Images folder
(Images will not show up on webpage until Published)
-
Upload images to the images folder

- Click images folder
-
Upload images by clicking the UPLOAD button
-
drag files from desktop or click the ADD button to add images


-
(do not delete e.g., .pdf, .docx, etc.)Rename the image by clicking the More Actions icon and type in new name -
Check Overwrite Existing if replacing a document with the same name
- Click START UPLOAD
Add image to webpage
(Images will not show up on webpage until Published)
- Put cursor where you want the image
-
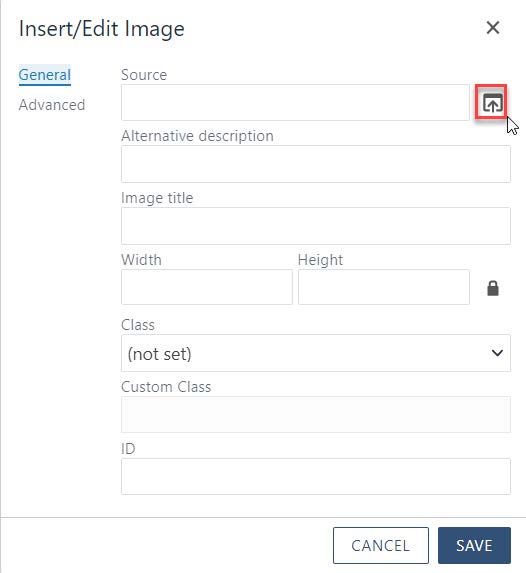
Click the image icon

-
Find the image uploaded previously
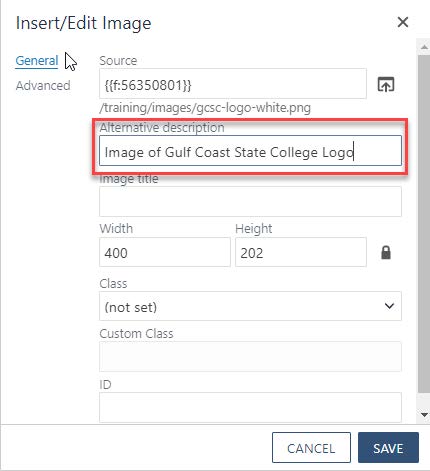
- Enter a detailed Alternative description (VERY IMPORTANT: Alt text is required. It must be a detailed description of the image. This is required for ADA compliance)
- Save image
-
Preview image

Upload Images While on Webpage
- Place cursor on the appropriate place on the webpage
-
Click the image icon
-
Click URL button
-
Click images folder
-
Click UPLOAD button

- drag files from desktop or click the ADD button to add images
-
Rename the document by clicking the More Actions icon and type in new name (do not delete e.g., .pdf, .docx, etc.)
- Check Overwrite Existing if replacing a document with the same name
- Click START UPLOAD
- INSERT image
- Enter a detailed Alternative description (VERY IMPORTANT: Alt text is required. It must be a detailed description of the image. This is required for ADA compliance)
- Save image
-
Preview image
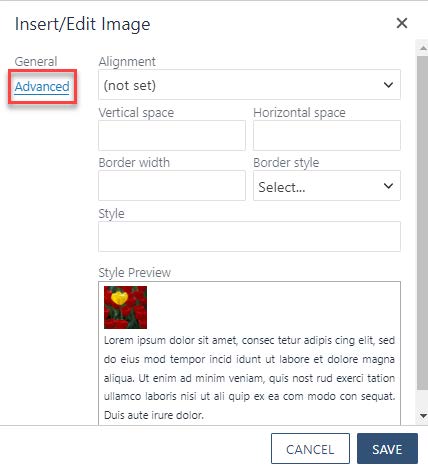
Optional: Advanced Insert/Edit Image
-
Click the image icon
-
Click Advanced
-
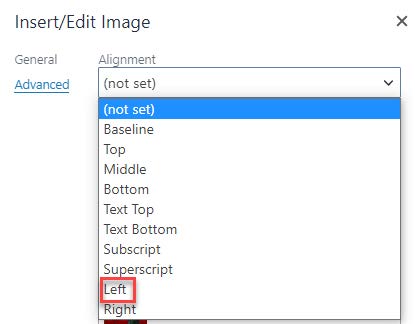
Select an Alignment
-
Insert Vertical, Horizontal space, Border width and Border style
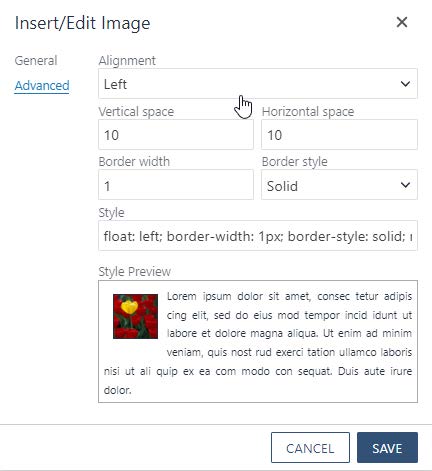
- Save image
-
Preview image
