technicalsupport@gulfcoast.edu
850.913.3303
SUW 260-261
Virtual Display Instructions
Updated: 7/16/2026
Virtual is a touch screen display that can be controlled with the pen provided or with your hands. This is manually power On/Off using the power button at the front of the display and for Audio control is also manually with the volume (+/-) button on the front of this display when using the Virtual display. The display should default to the Smart Station computer. If it does not, touch the preview window in the center of the display screen to select the Smart Station computer. Also we added a Table top HDMI Input source on top of the smart station if user wanted their Laptops or other devices, once connected the user Device will automatically display.
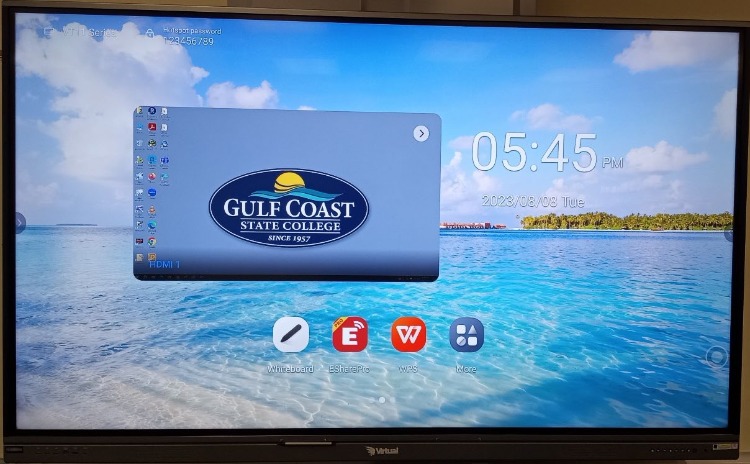
The display will be in “mouse mode,” you can control it as if you were using the computer mouse at the Smart Station. On both sides of the Virtual display image you will have arrows. These arrows will open up the sidebar menu functions.
| Button Descriptions | Button Images |
|---|---|
|
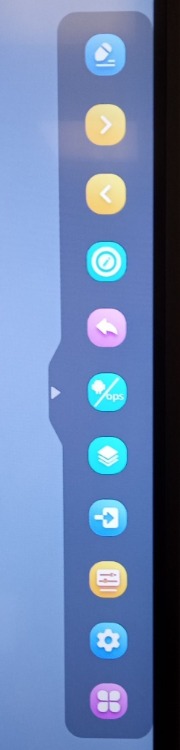
1 - Annotate 2 and 3 - Arrow buttons 4 - White Board 5 - Back Arrow 6 - Android/OPS (home screen) 7 - File Stack (apps currently running) 8 - Arrow (signal sources) 9 - Control Panel 10 - System Settings 11 - Tool (some require additional software installed) |
 |
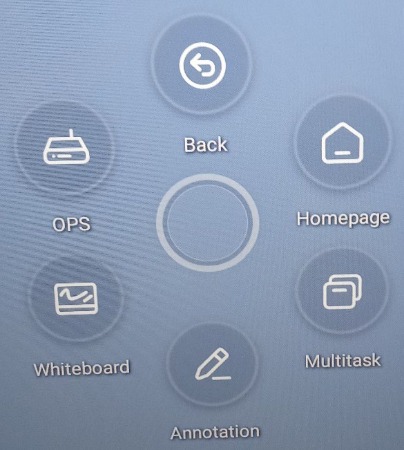
Additionally, there is a floating circle shortcut icon on the Virtual’s screen that will open up many of the same features as the side arrow toolbar. This icon can be moved by pressing and holding, then sliding it across the screen.
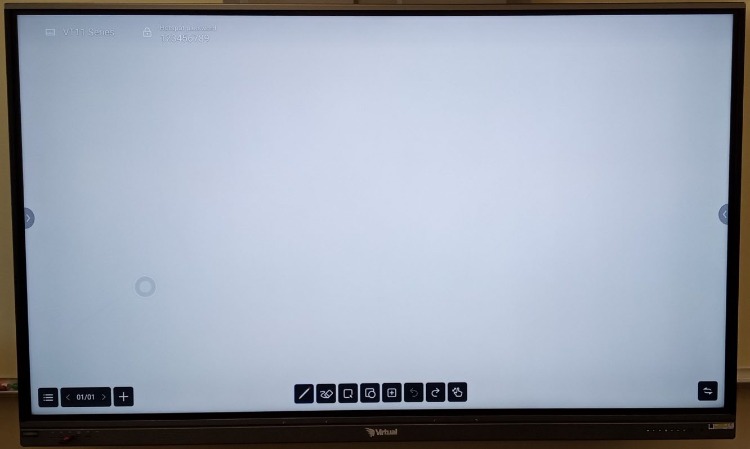
Example of the White Board image: