Add, Update, or Remove Devices for Duo MFA
Adding or updating the devices you use for Duo Multi-Factor Authentication (MFA) is easy and can be done during any login.
Open Device Management
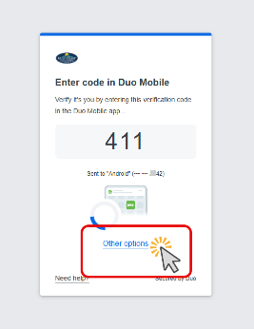
While you are being prompted for MFA by Duo, click the Other options link near the bottom of the prompt.
This expands the list of all available MFA options and displays the Manage devices option. Click Manage devices.
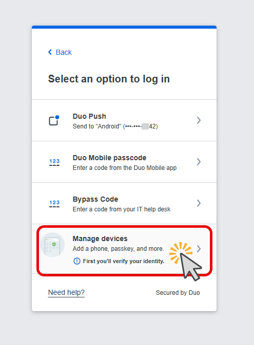
Note: You will be required to complete an MFA push to enter the Manage Devices area. If you do not have any device available to complete MFA, contact the GCSC ITS Helpdesk for assistance and be ready to verify your identity by video or other means.
Verify Your Identity
Complete the identity check with a Duo Push (or a bypass code from the ITS Helpdesk).
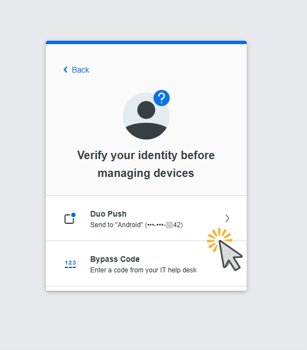
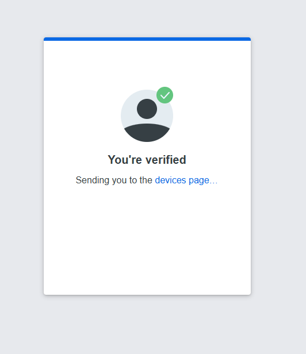
Once verified, Duo sends you to the devices page.
Manage or Add Devices
From the devices page you can manage any of your existing registered devices or add new ones.
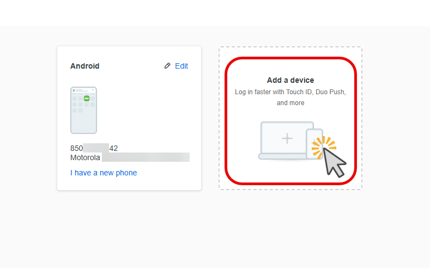
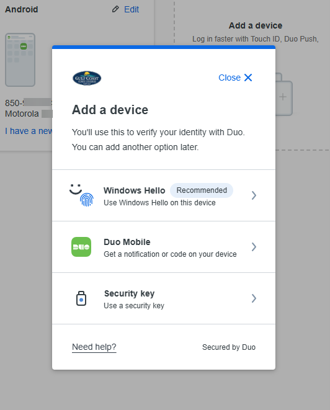
Clicking Add a device brings up the primary registration prompt, where you can add Duo Mobile, a security
key, or Windows Hello.
Removing a device: The option to remove a device appears once you have more than one device registered. Open the device on the devices page and choose the Remove option. Duo will not let you remove your last remaining device — if you are replacing your only device, add the new one first, then remove the old one.
Re-register After Getting a New Phone
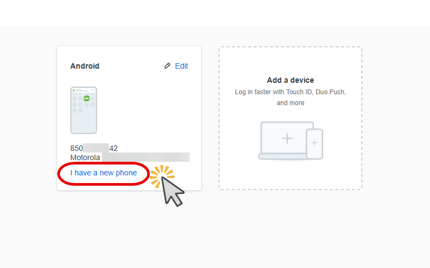
If you get a new mobile device but keep the same phone number, click your existing registration and choose I have a new phone to re-register Duo Mobile.
Follow the prompts to set up your phone again, starting with Get started.
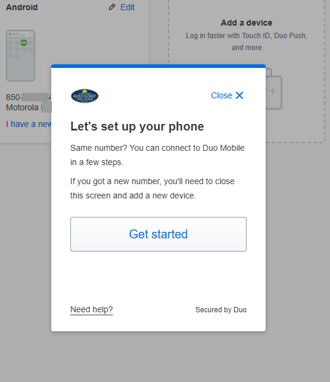
Tip: In the upper-right corner there is an option to return to sign in.
If You See a Verification Timeout Error
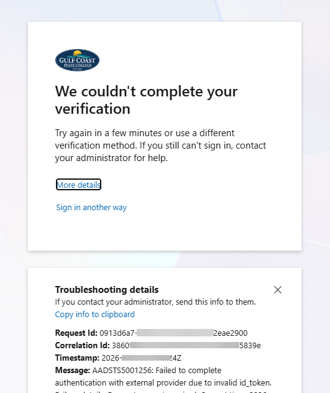
It is common to see the error below if you spend a while in the device management portal. It simply means your original login attempt timed out while you were in the Manage Devices area.
Go back to the MyGCSC Experience and sign in again.